Deploying beta versions of your app to TestFlight and AppCenter using Xcode Cloud

Go from confusion to confidence with a step-by-step Swift Concurrency course, helping you smoothly migrate to Swift 6 and fully leverage its features.
In preparation for my talk at NYSwifty next week, I have been writing about all things Xcode Cloud on my blog. This has helped me prepare for my talk and look at Xcode Cloud in depth.
One of the workflows that I will be showing how to build during my talk deploys beta versions of an iOS app for internal testing and distributes them both to TestFlight and Microsoft’s AppCenter.
I work at a company where we use AppCenter to distribute all our internal builds to other developers, testers and stakeholders. For this reason, I was keen to find a way to upload builds to an external service using Xcode Cloud by making use of existing Fastlane logic. 🎉
Creating a workflow
The first step is to create a new workflow in Xcode Cloud. To do this, open Xcode and show the report navigator in the sidebar. On the cloud tab, select your Xcode Cloud product, click on Manage Workflows and press the + button on the bottom left of the Manage Workflows screen.
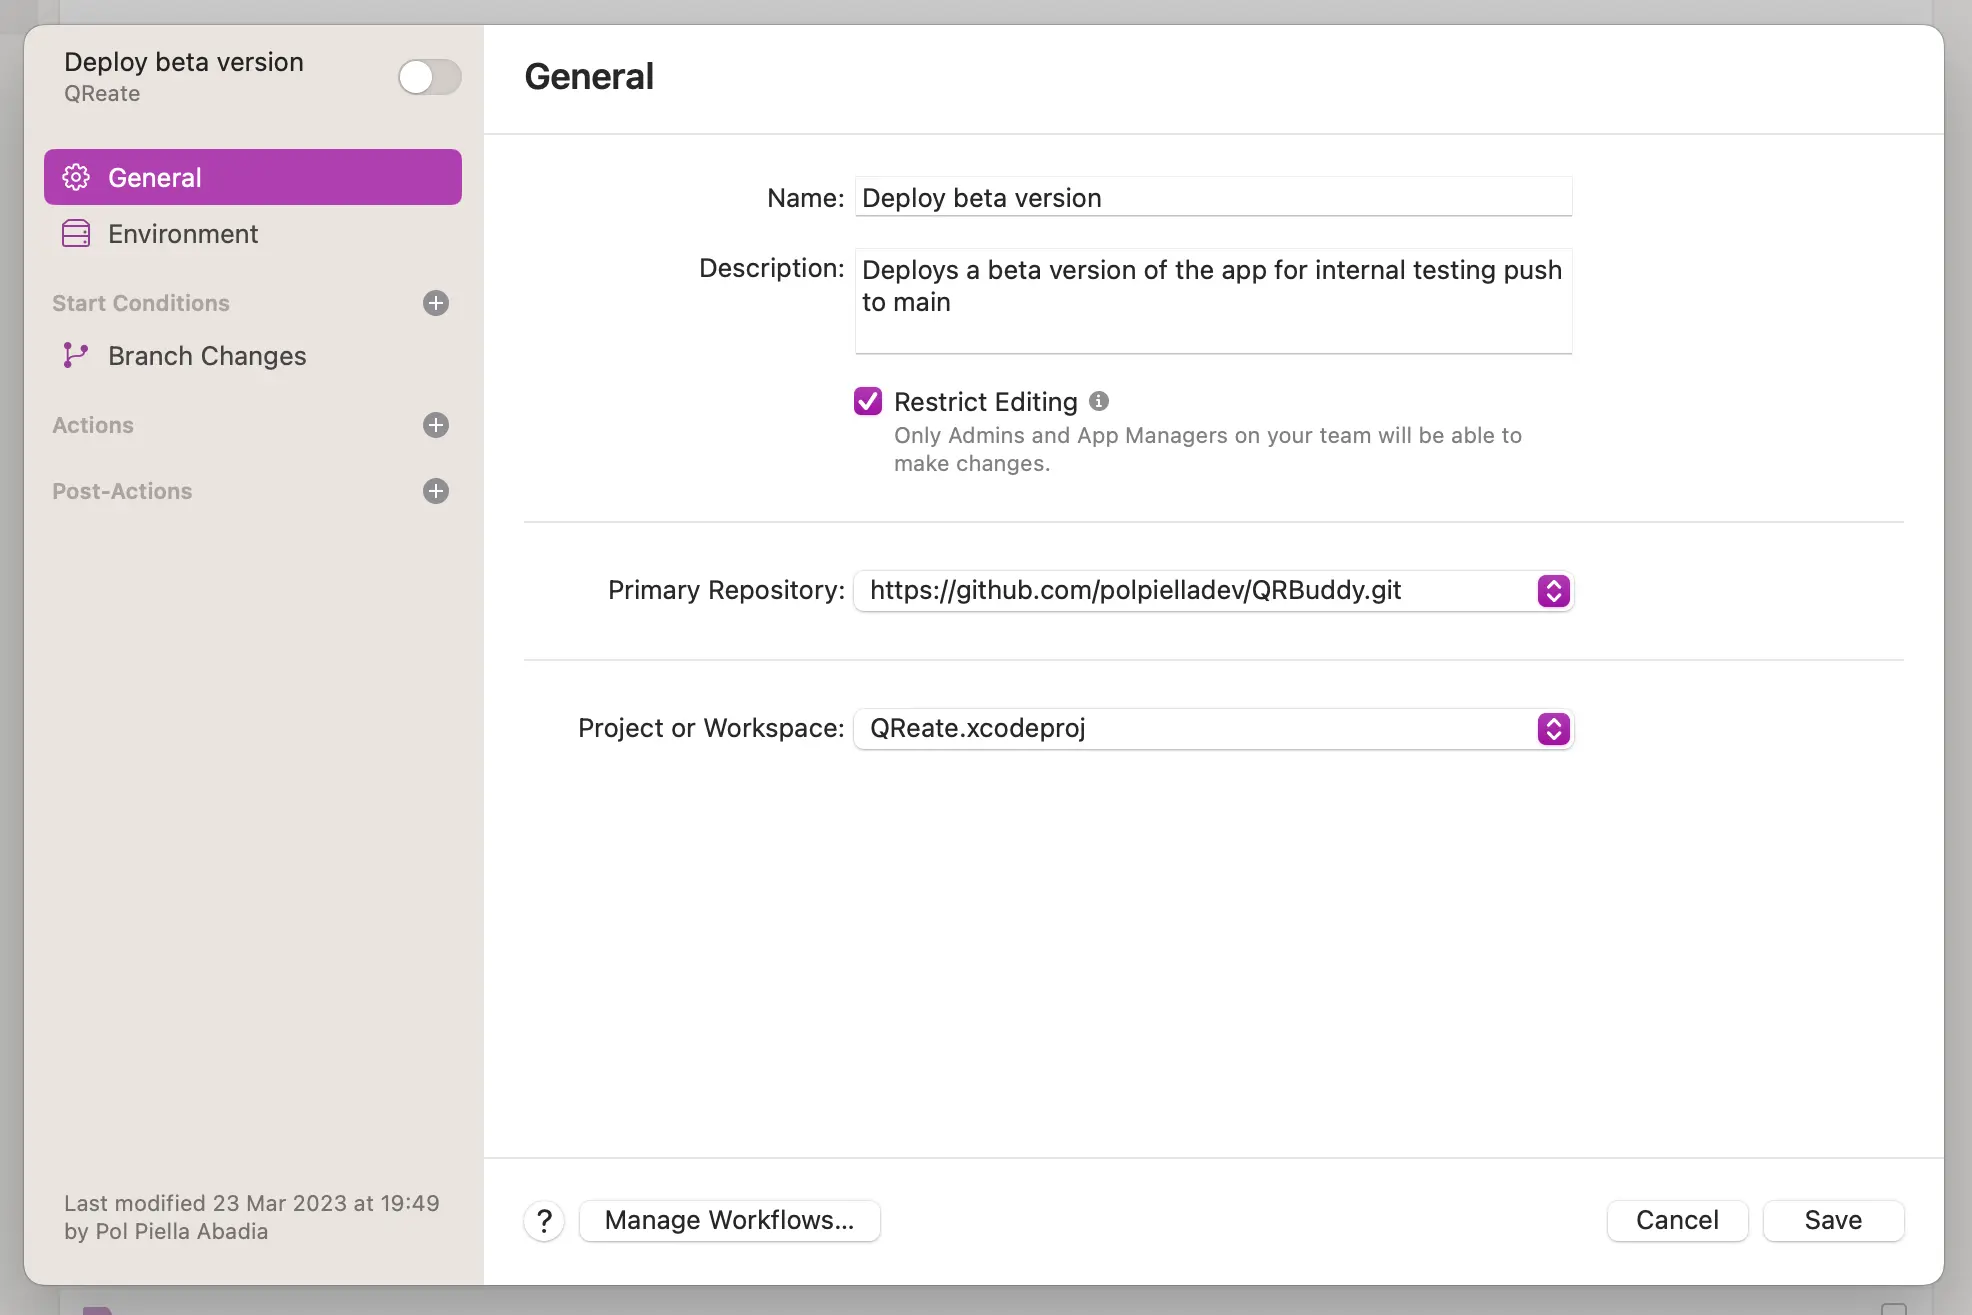
You will now be prompted with a modal containing general information on the workflow. Modify the name and description and select Restrict editing if you want the workflow to only be editable by users with Admin or App Manager roles in App Store Connect:
Setting up the environment
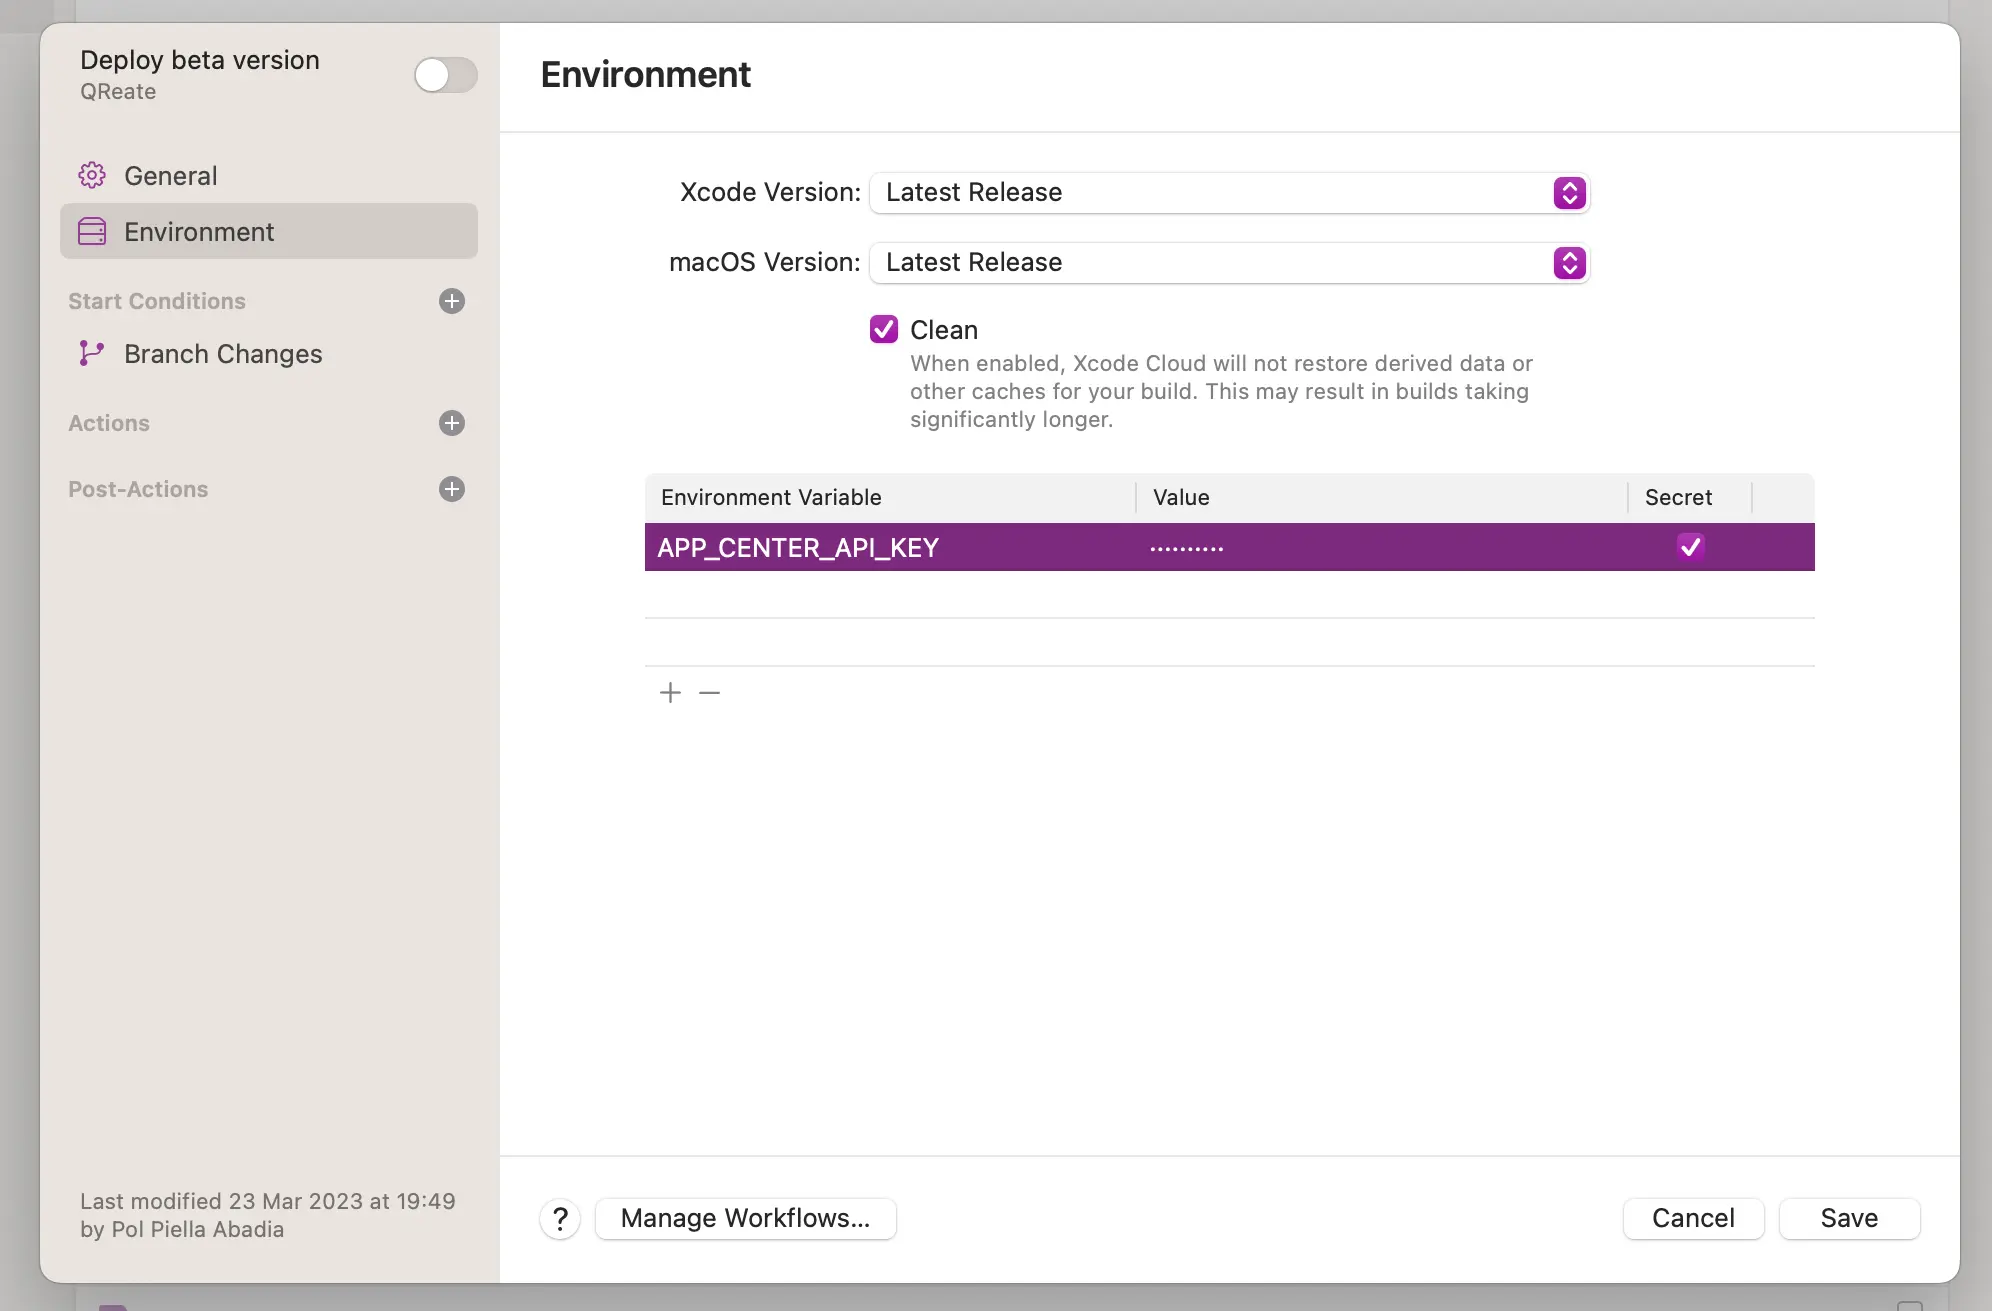
Next, select the Environment tab on the left-hand side. Pick a macOS and an Xcode version for this workflow and tick the Clean box if you want the workflow to ignore the derived data and caches from previous jobs.
To upload to AppCenter, you will need an API key. Once you have generated this from AppCenter’s dashboard, make sure you add it to the Environment Variables section of the workflow so you can retrieve it later on. Tick the secret box to ensure Xcode Cloud stores the variable securely and does not display it in the logs.
Setting up start conditions
The next step is to set up the start conditions for the workflow. This workflow archives and distributes the application on every push to the main branch, but you can change this to run on PR changes, on tag pushes or even on a schedule.
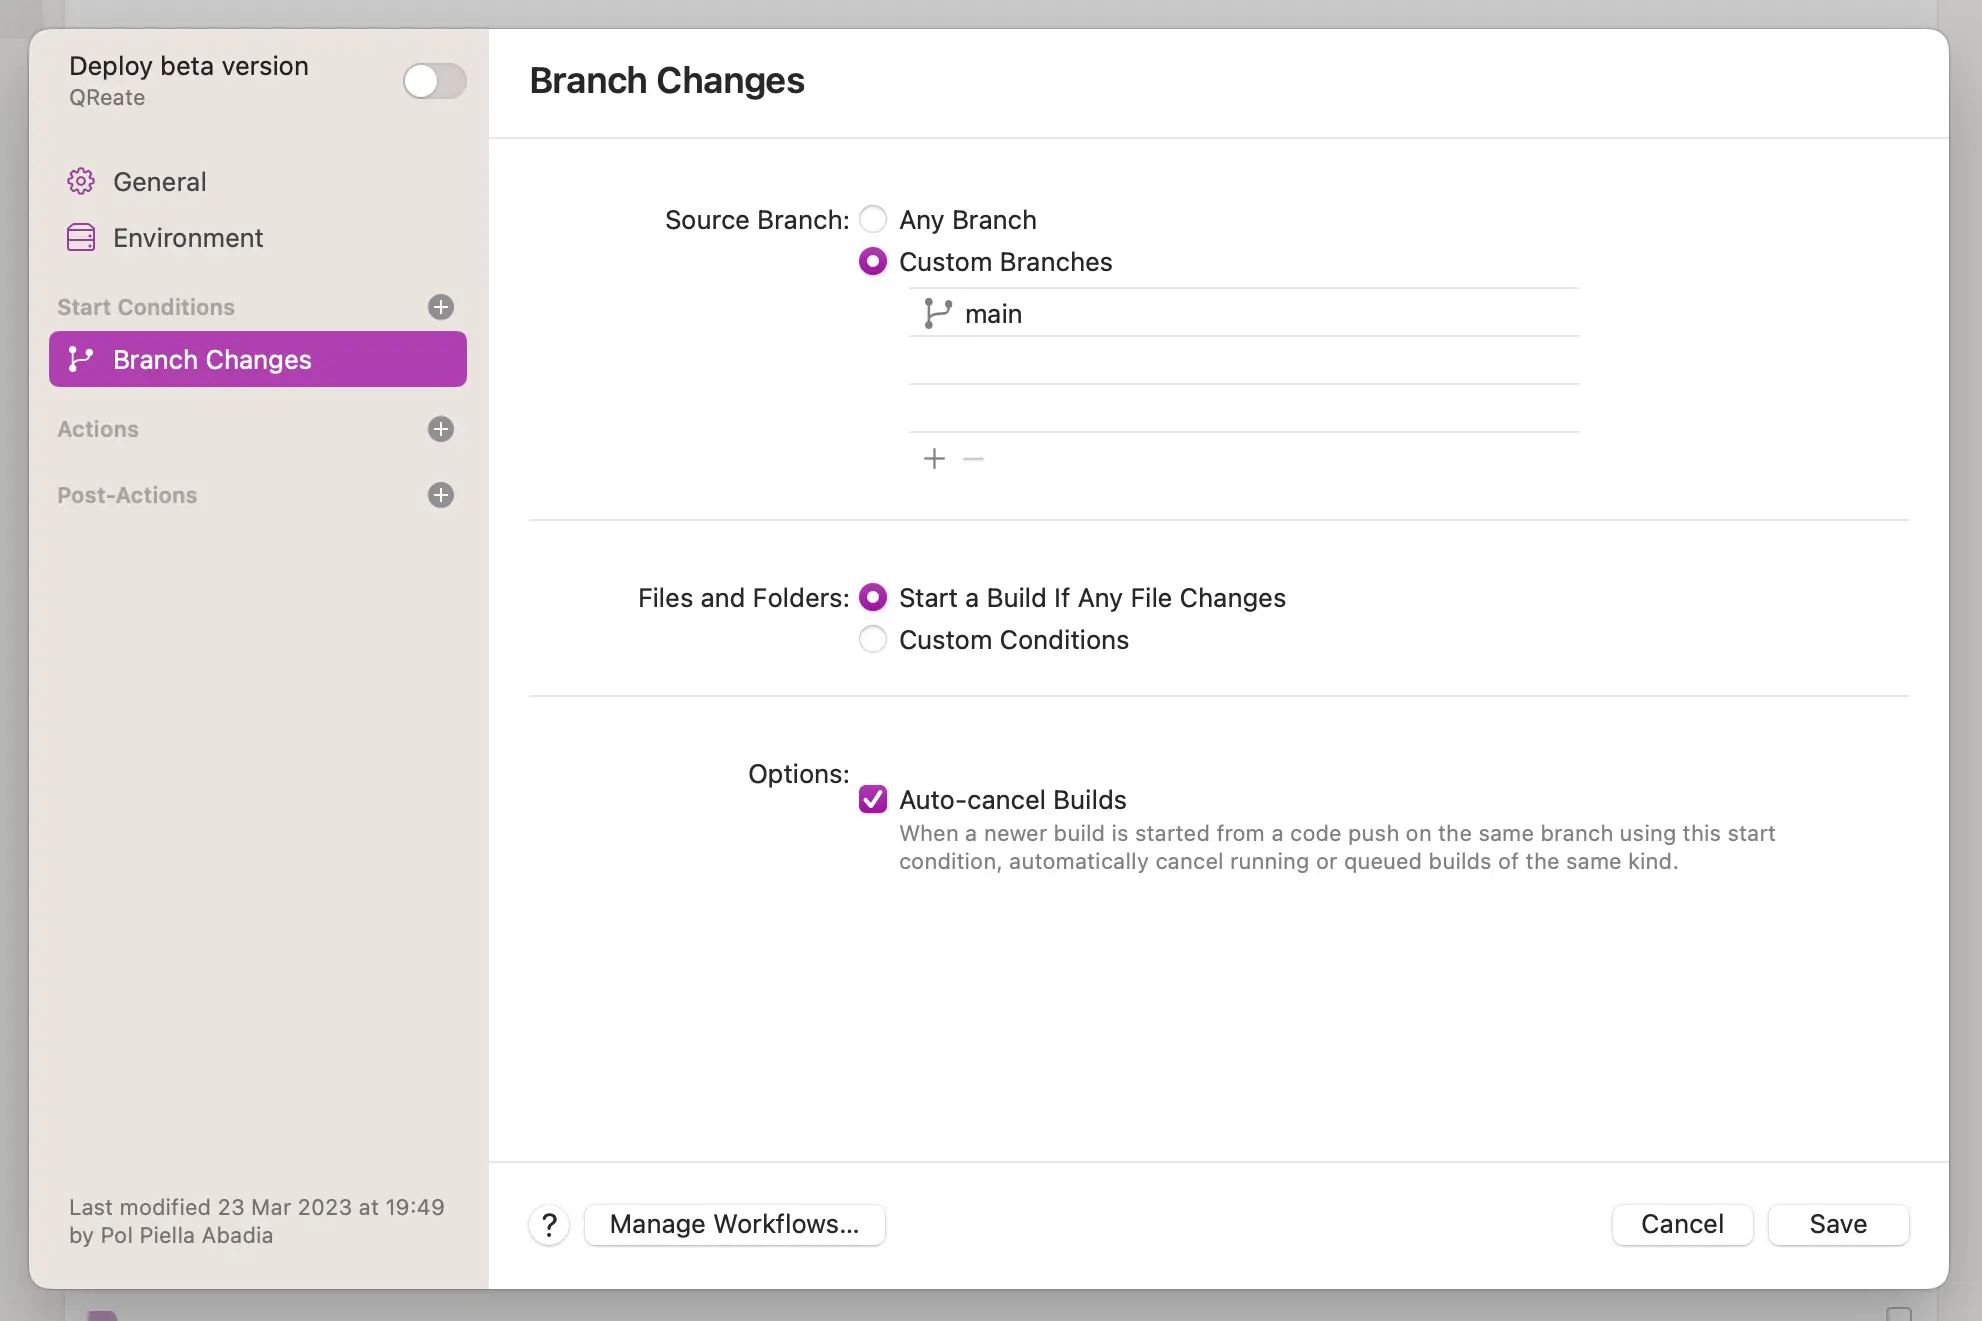
I suggest you select the
Auto-cancels Buildsoption to ensure that any ongoing builds of this workflow are cancelled when a new commit is pushed to the main branch. This ensures that you only keep the builds you are interested in and don’t waste resources on builds that are no longer relevant.
Archiving the application
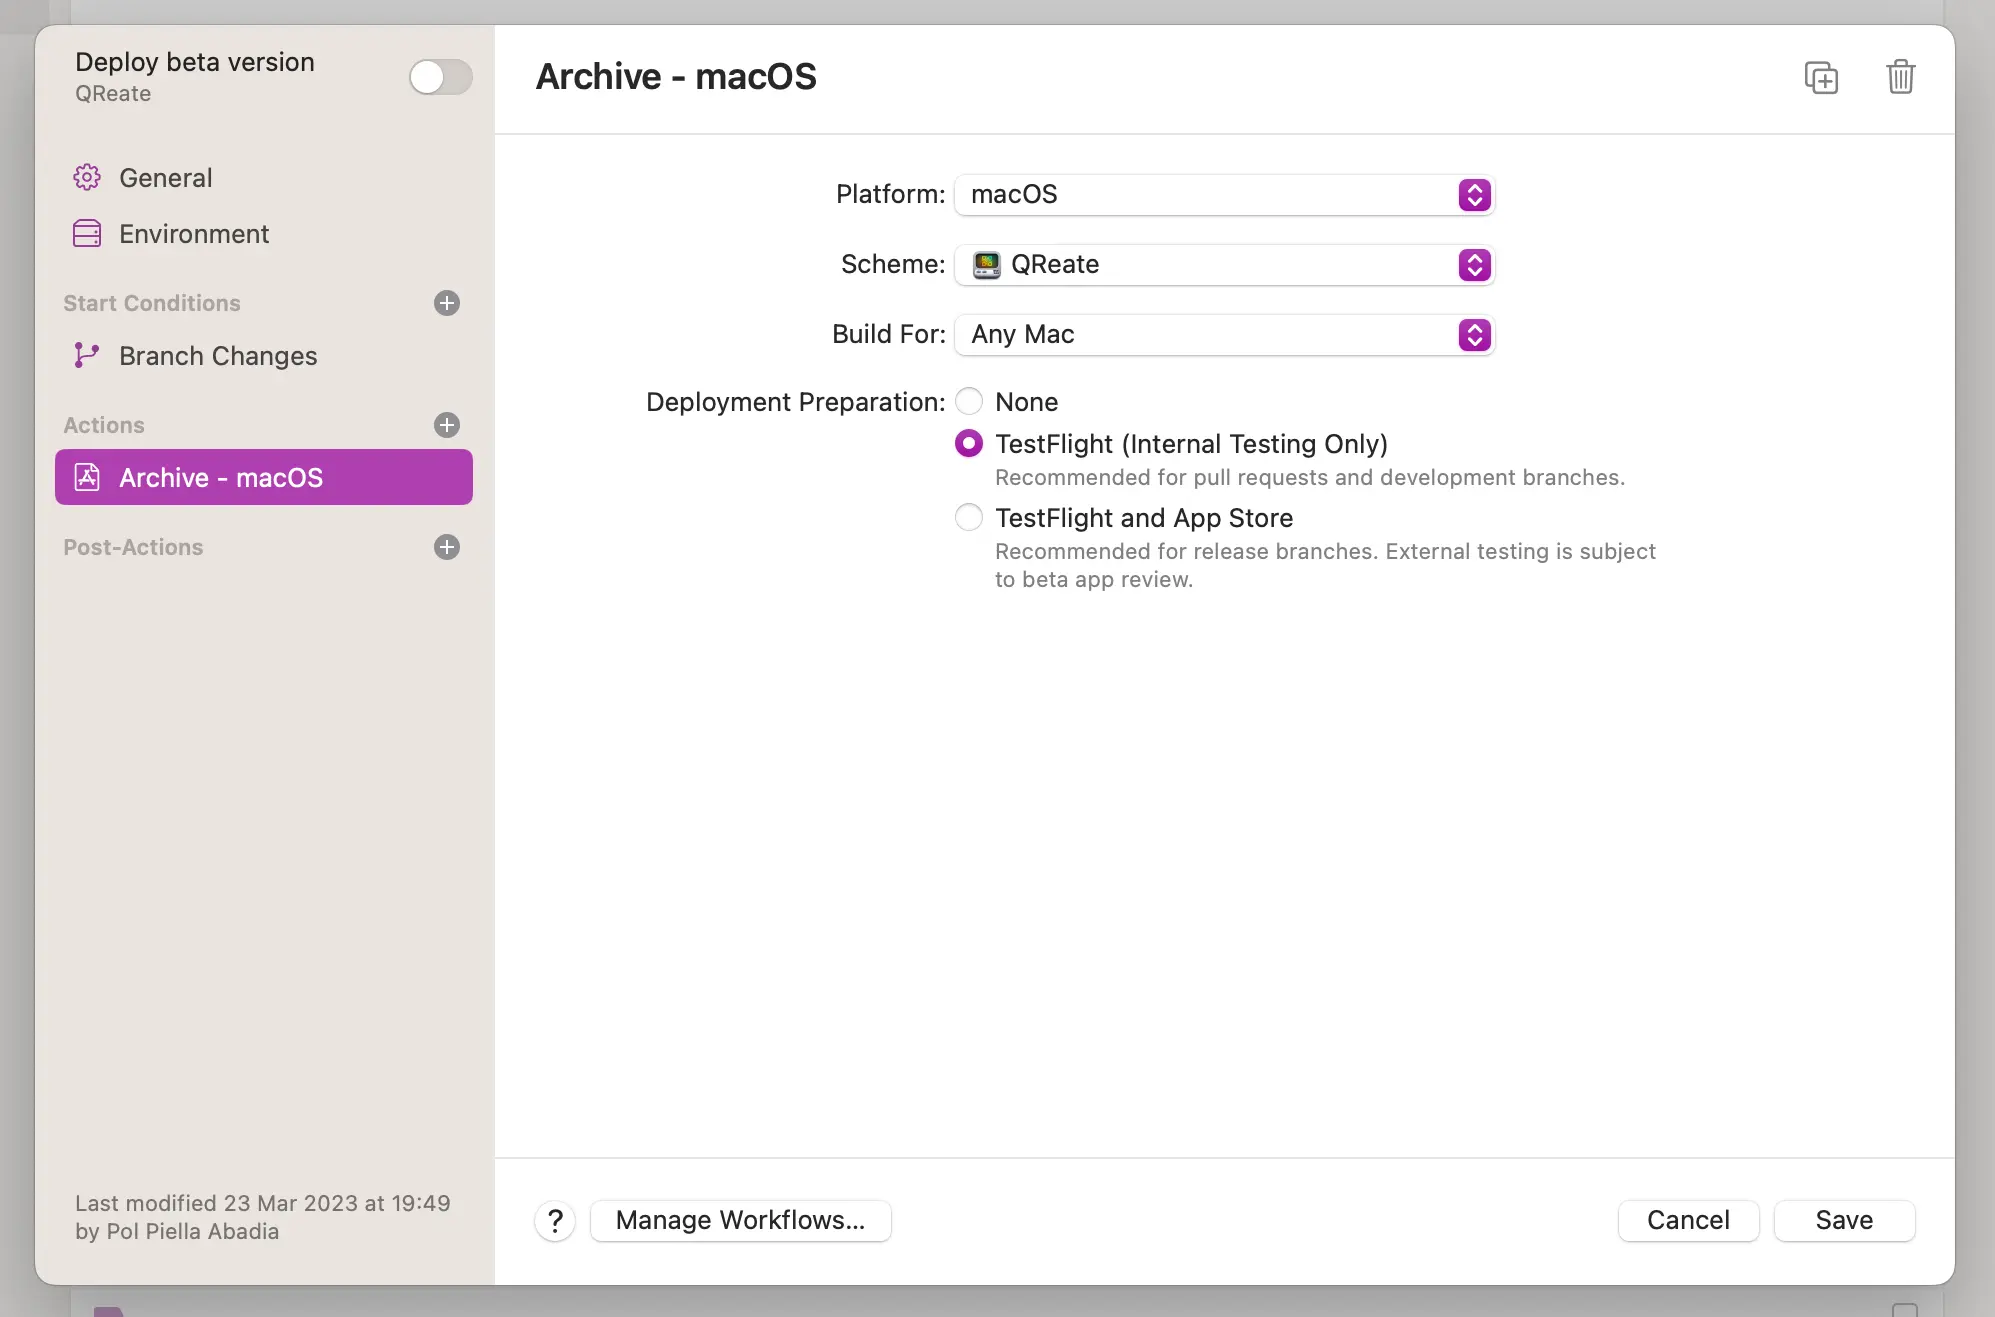
Now that you have set up the environment, you need to add an action to the workflow. Click on the + button next to the Actions section title on the left-hand side and select the Archive action from the list.
In the action’s settings, select the scheme you want to archive the app for and set the Deployment Preparation to Internal Testing Only:
Uploading to TestFlight
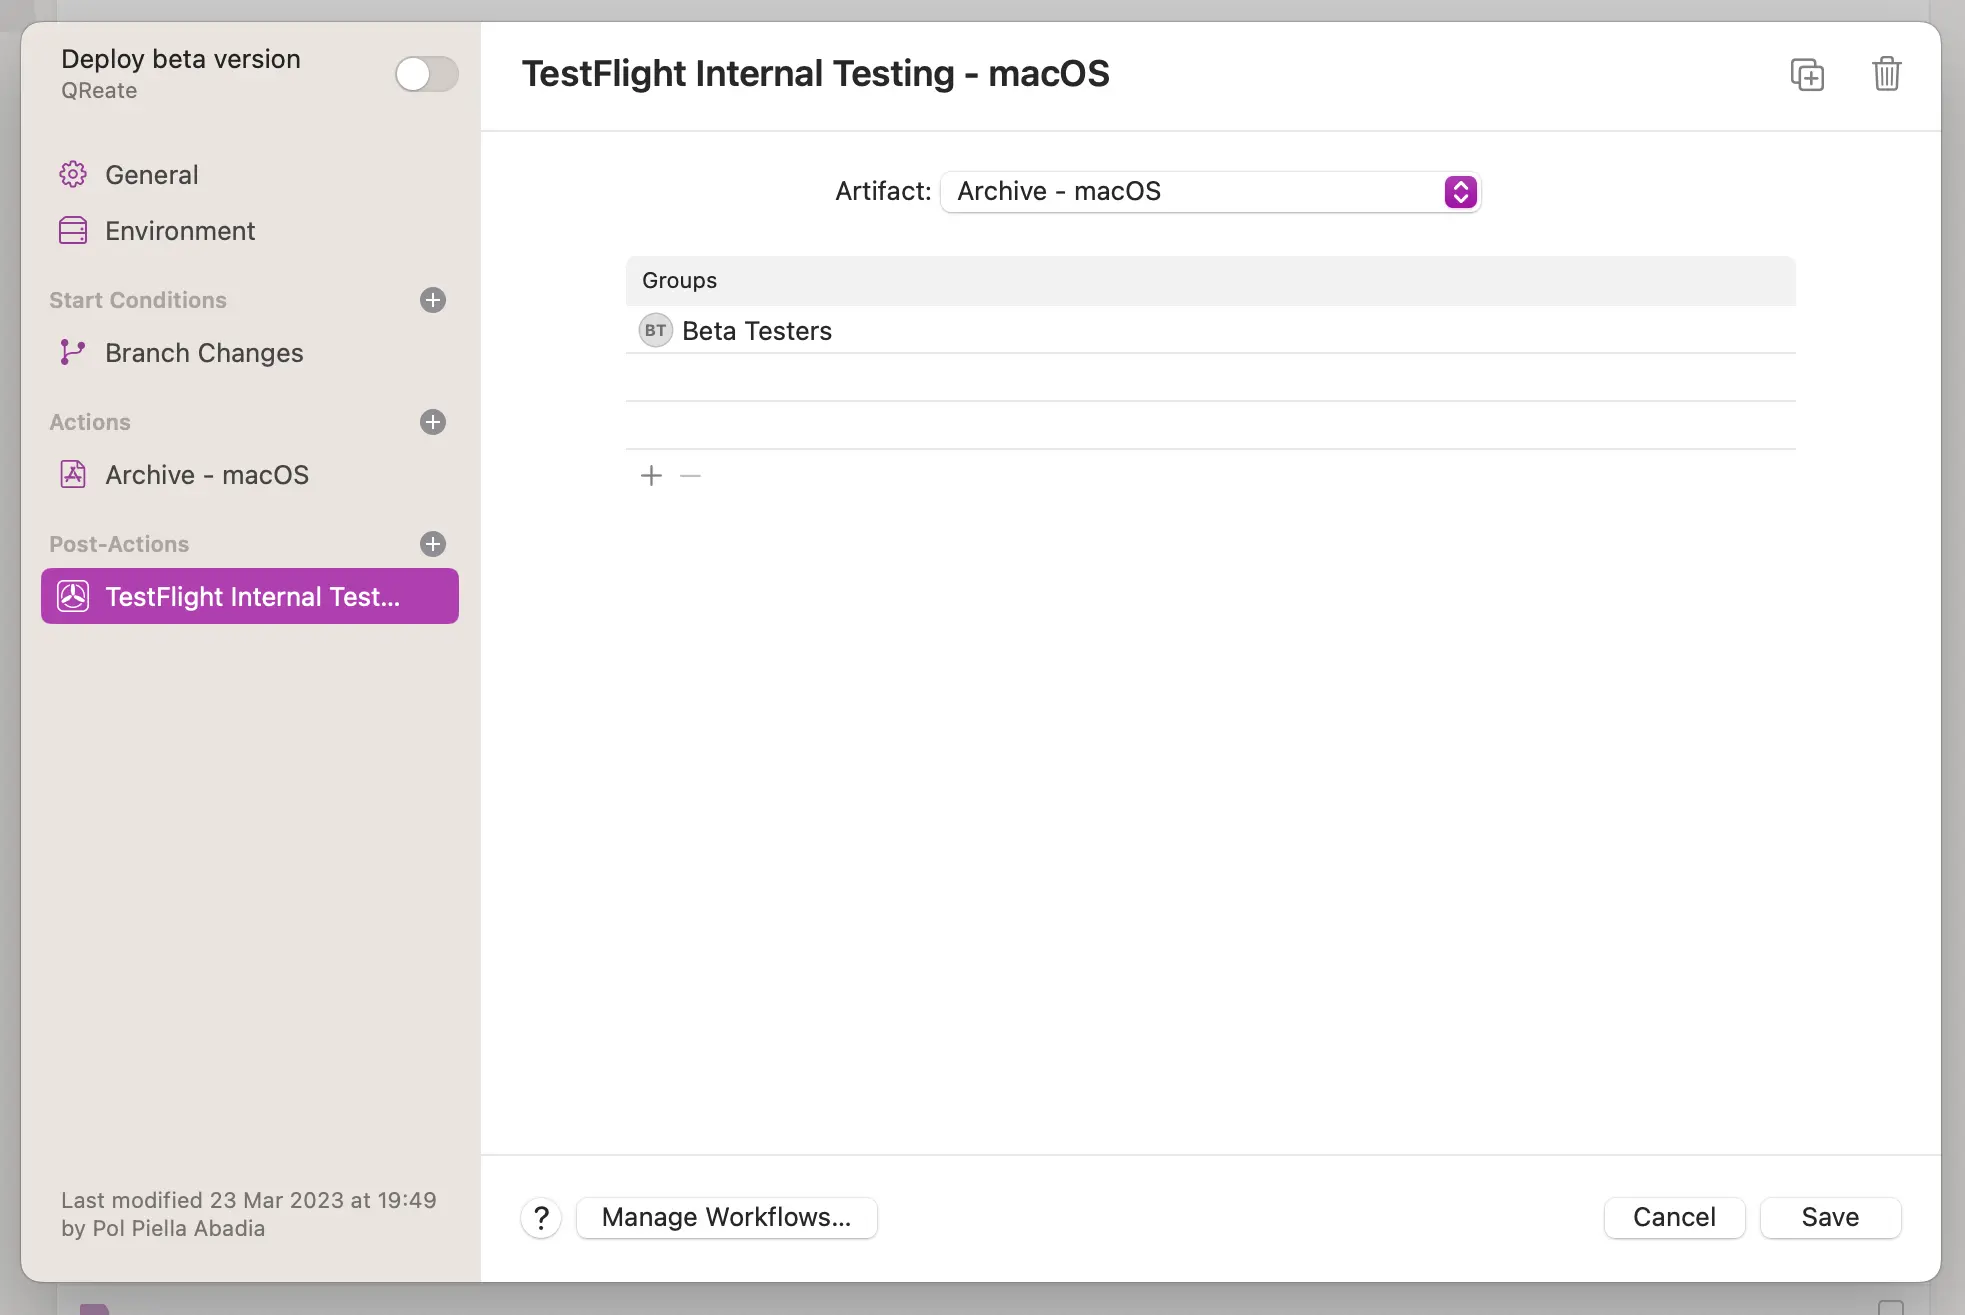
The final step of the workflow is to upload the build to TestFlight. To achieve this, click on the + button next to the Post-Actions section title and select TestFlight Internal Testing from the list.
In the post-action configuration, select the archive from the previous step as the artefact and a distribution group of internal beta testers to upload the build to.
Uploading to AppCenter
So far, the workflow only archives the application and distributes the generated artefact to TestFlight. As it stands, there is no way to add a custom post-action to the workflow from Xcode’s user interface.
Despite this, Xcode Cloud provides a way of running custom actions at three different stages of a workflow’s lifecycle (after the repository is cloned and before and after the xcodebuild command runs) by creating scripts with specific names in a directory called ci_scripts. If you want to learn more about this, you can check out my blog post on the topic.
Installing Fastlane
The easiest way to install Fastlane is using Homebrew, but the way Fastlane recommends installing it is by using ruby’s Bundler. I have personally also found this way to be faster and more reliable.
To install Fastlane using ruby’s Bundler, you need to create a Gemfile at the root of the repository and add Fastlane as a dependency:
source "https://rubygems.org"

gem "fastlane"

plugins_path = File.join(File.dirname(__FILE__), 'fastlane', 'Pluginfile')
eval_gemfile(plugins_path) if File.exist?(plugins_path)
As Apple recommends in the Xcode Cloud documentation, the best time to install third-party dependencies is directly after the repository is cloned.
Create a file called ci_post_clone.sh under the ci_scripts directory with the following content:
#!/bin/sh

# 📁 Set the install path to a local directory
bundle config set --local path 'vendor'

# ⬇️ Install all dependencies in the `Gemfile`
bundle install
Creating a lane
Now that Fastlane is installed, you need to create a lane that uploads the build to AppCenter. In your project’s Fastfile, add the following code:
lane :upload_to_appcenter do
    # 1
    archive_path_dir = ENV["CI_ARCHIVE_PATH"]
    # 2
    pkg_file = File.join(archive_path_dir, "Products", "Applications", "QReate.app")
    dsym_file = File.join(archive_path_dir, "dSYMs", "QReate.app.dSYM")

    # 3
    appcenter_upload(
        api_token: ENV["APP_CENTER_API_KEY"],
        owner_name: "polpielladev",
        app_name: "QReate",
        release_notes: "Bug fixing and new features",
        file: pkg_file,
        dsym: dsym_file,
        notify_testers: false
    )
end
In a nutshell, the lane above does the following:
- Retrieve the path to the archive generated by Xcode Cloud using the
CI_ARCHIVE_PATHenvironment variable. This environment variable is set by Xcode Cloud automatically on every build with an archive step. - Retrieve the paths to the binary file and the dSYM file from the archive.
- Call Microsoft’s open source appcenter_upload fastlane action to upload the build to AppCenter. The action takes several arguments but I want to focus only on
api_token, which gets its value from theAPP_CENTER_API_KEYenvironment variable that you set up in the workflow’s environment earlier on.
Running Fastlane from Xcode Cloud
All that’s left for you to do now is to add a second CI script that runs after the archive step and calls the new lane.
To do so, create a file called ci_post_xcodebuild.sh under the ci_scripts directory with the following content:
# 🆙 Go one directory up to the root of the repository
cd ..
# 🏃♂️ Run the new lane using the Fastlane binary installed by Bundler
bundle exec fastlane upload_to_appcenterThat’s it! Next time you push to main, Xcode Cloud will generate an archive for your application and it will distribute it to TestFlight and AppCenter 🎉.