How to launch a macOS SwiftUI app from a Safari extension

Go from confusion to confidence with a step-by-step Swift Concurrency course, helping you smoothly migrate to Swift 6 and fully leverage its features.
This week I have added a Safari extension for my new app QReate. When interacted with, the extension creates a new QR code in the app with the current tab’s URL:
In this article, I will explain how the extension retrieves the current tab’s URL, how it launches the app with the URL as a query parameter and how the app handles this event.
Creating a Safari extension
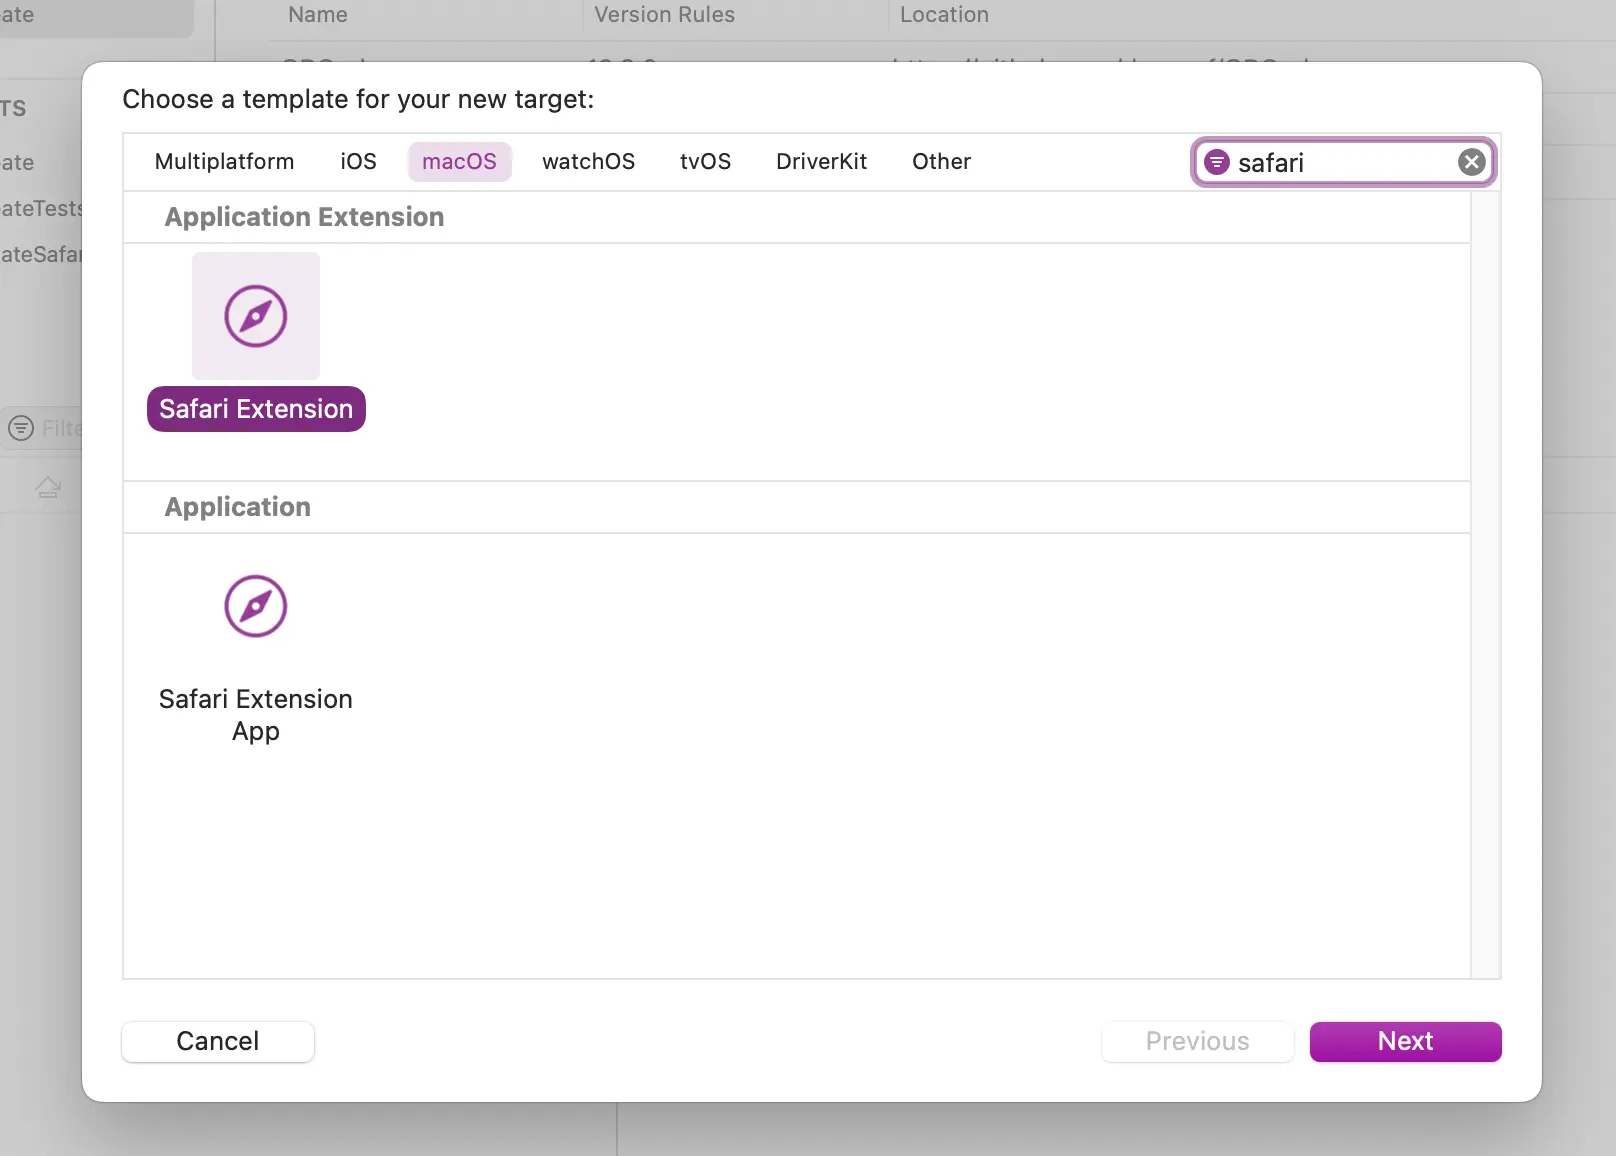
First, we can create a Safari extension for an existing macOS app in Xcode by going to File > New > Target and selecting ‘Safari Extension’ from the list of templates:
Setting things up
The template creates a new target in our project that gets us most of the way there but there are still a few things we need to change and remove to make it work for this specific use case:
- The extension does not show any UI to the user when interacted with. For this reason, we can remove the default
ViewControllerand the associated storyboard. - Additionally, we are not going to execute any Javascript code so we can remove the
script.jsfile from the Resources folder. We need to keep the ‘ToolbarItemIcon’ file in that folder (and replace it with our custom icon) as it is used to display the extension’s icon in the toolbar. - We need to give the extension a meaningful description that will be displayed to the user in the extensions section on Safari’s preferences screen. We can do this by editing the
NSHumanReadableDescriptionfield underNSExtensionin the target’sInfo.plistfile. - The extension needs to be able to access the current tab’s URL and it hence requires a special set of permissions. We need to change the
Levelfield underSFSafariWebsiteAccesstoAllto be able to query information about the current tab, such as its URL or title.
A note on debugging
There are two separate ways to debug a Safari app extension:
- By launching the app target directly.
- By launching the extension target and selecting Safari as its host application.
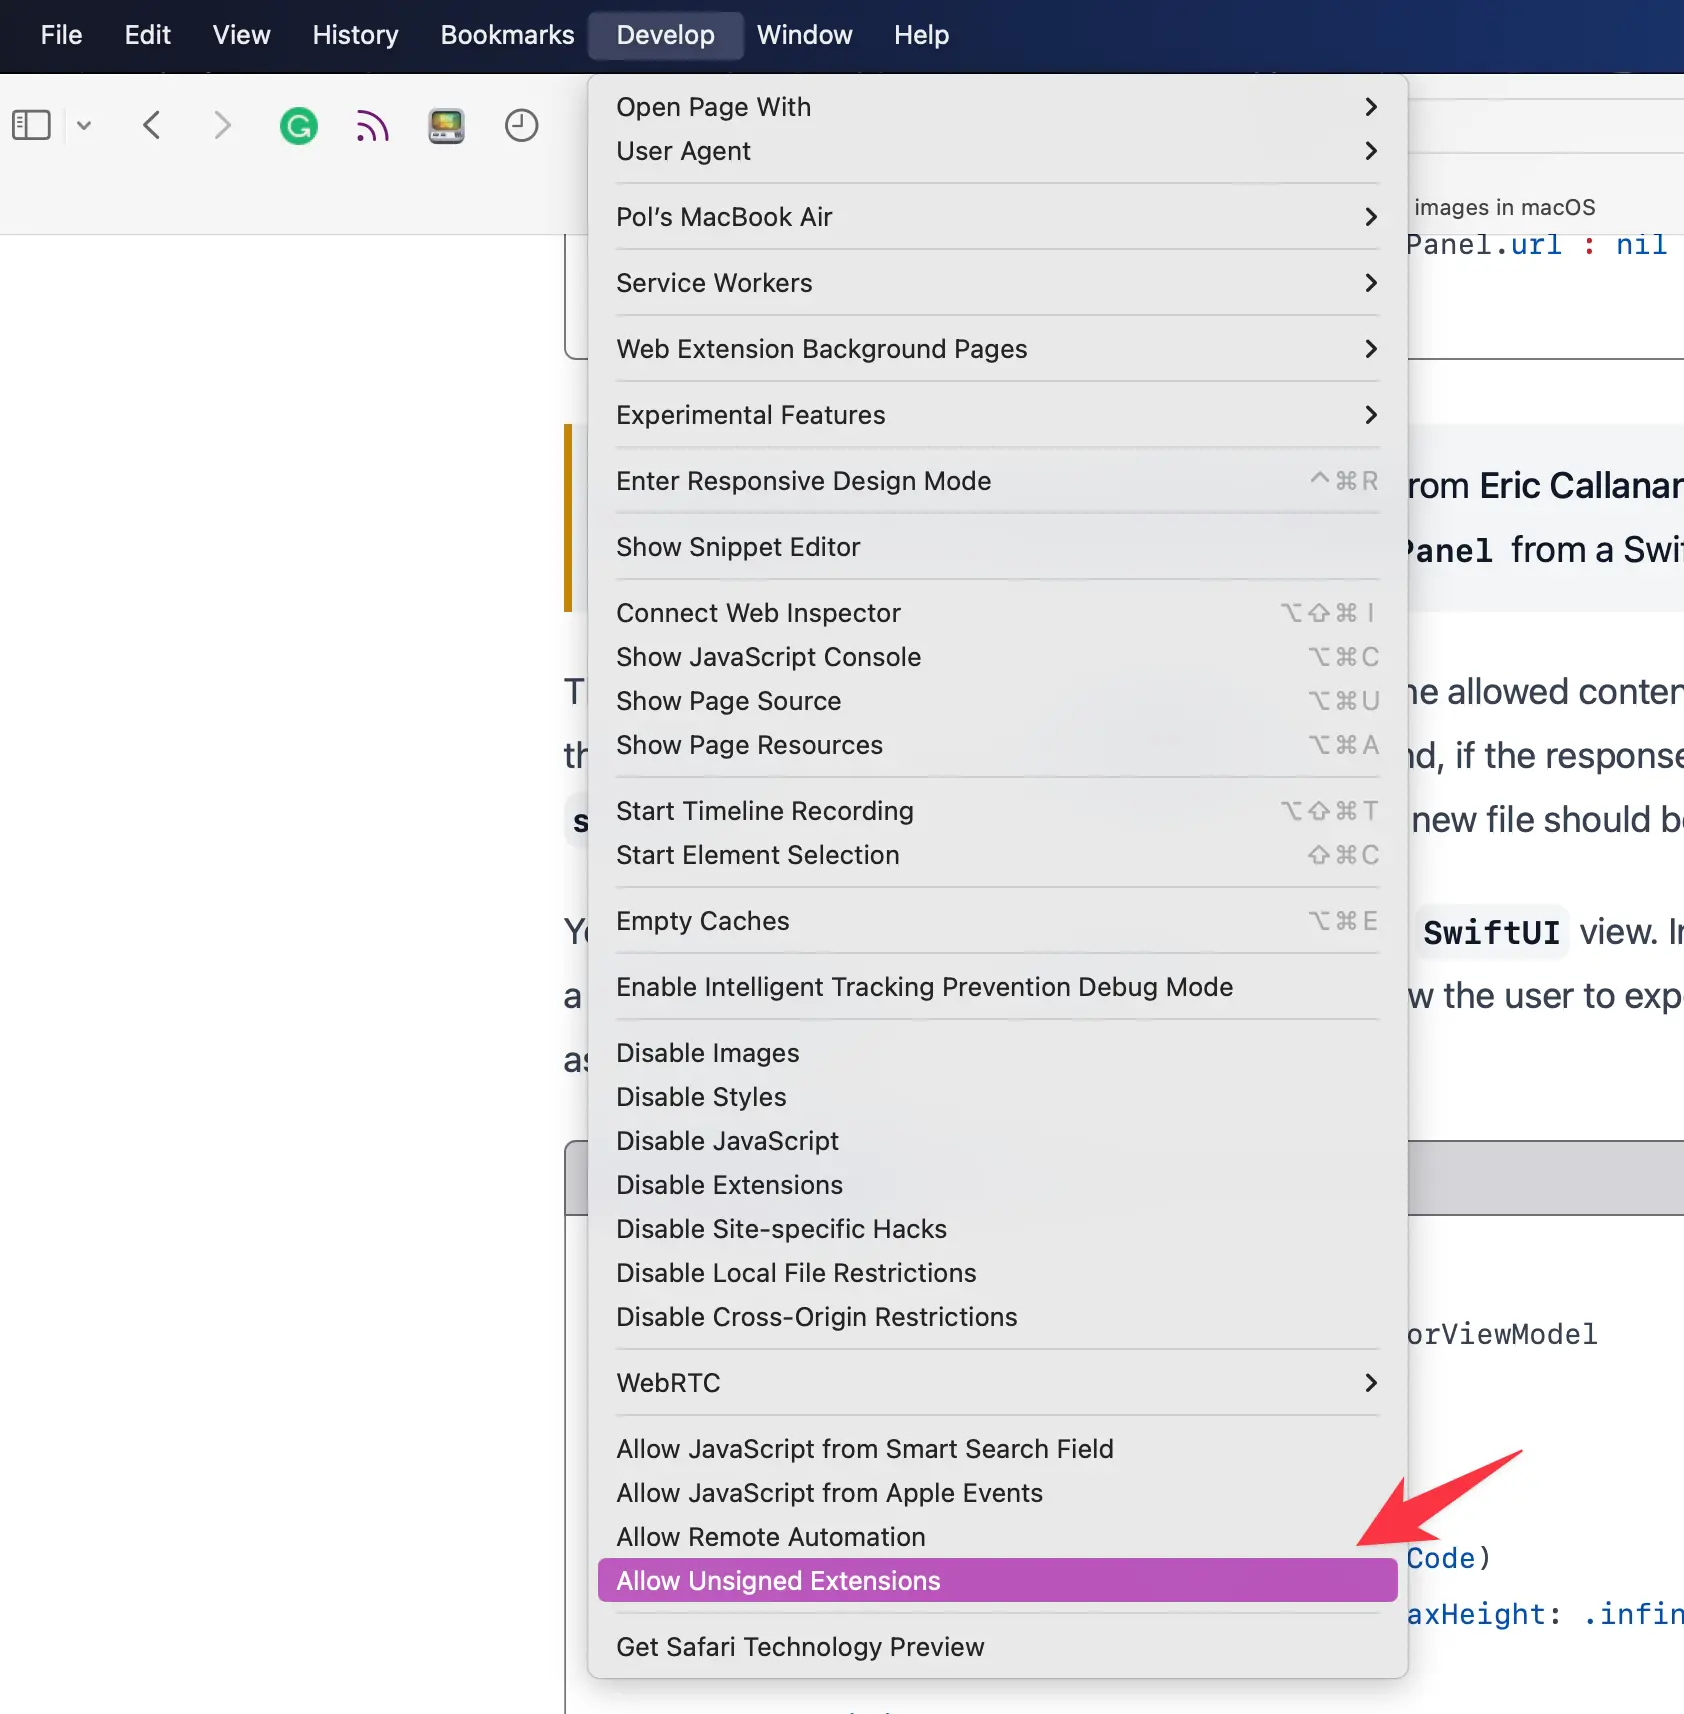
You must know that in both cases you will need to ‘Allow Unsigned Extensions’ in Safari’s Develop menu:
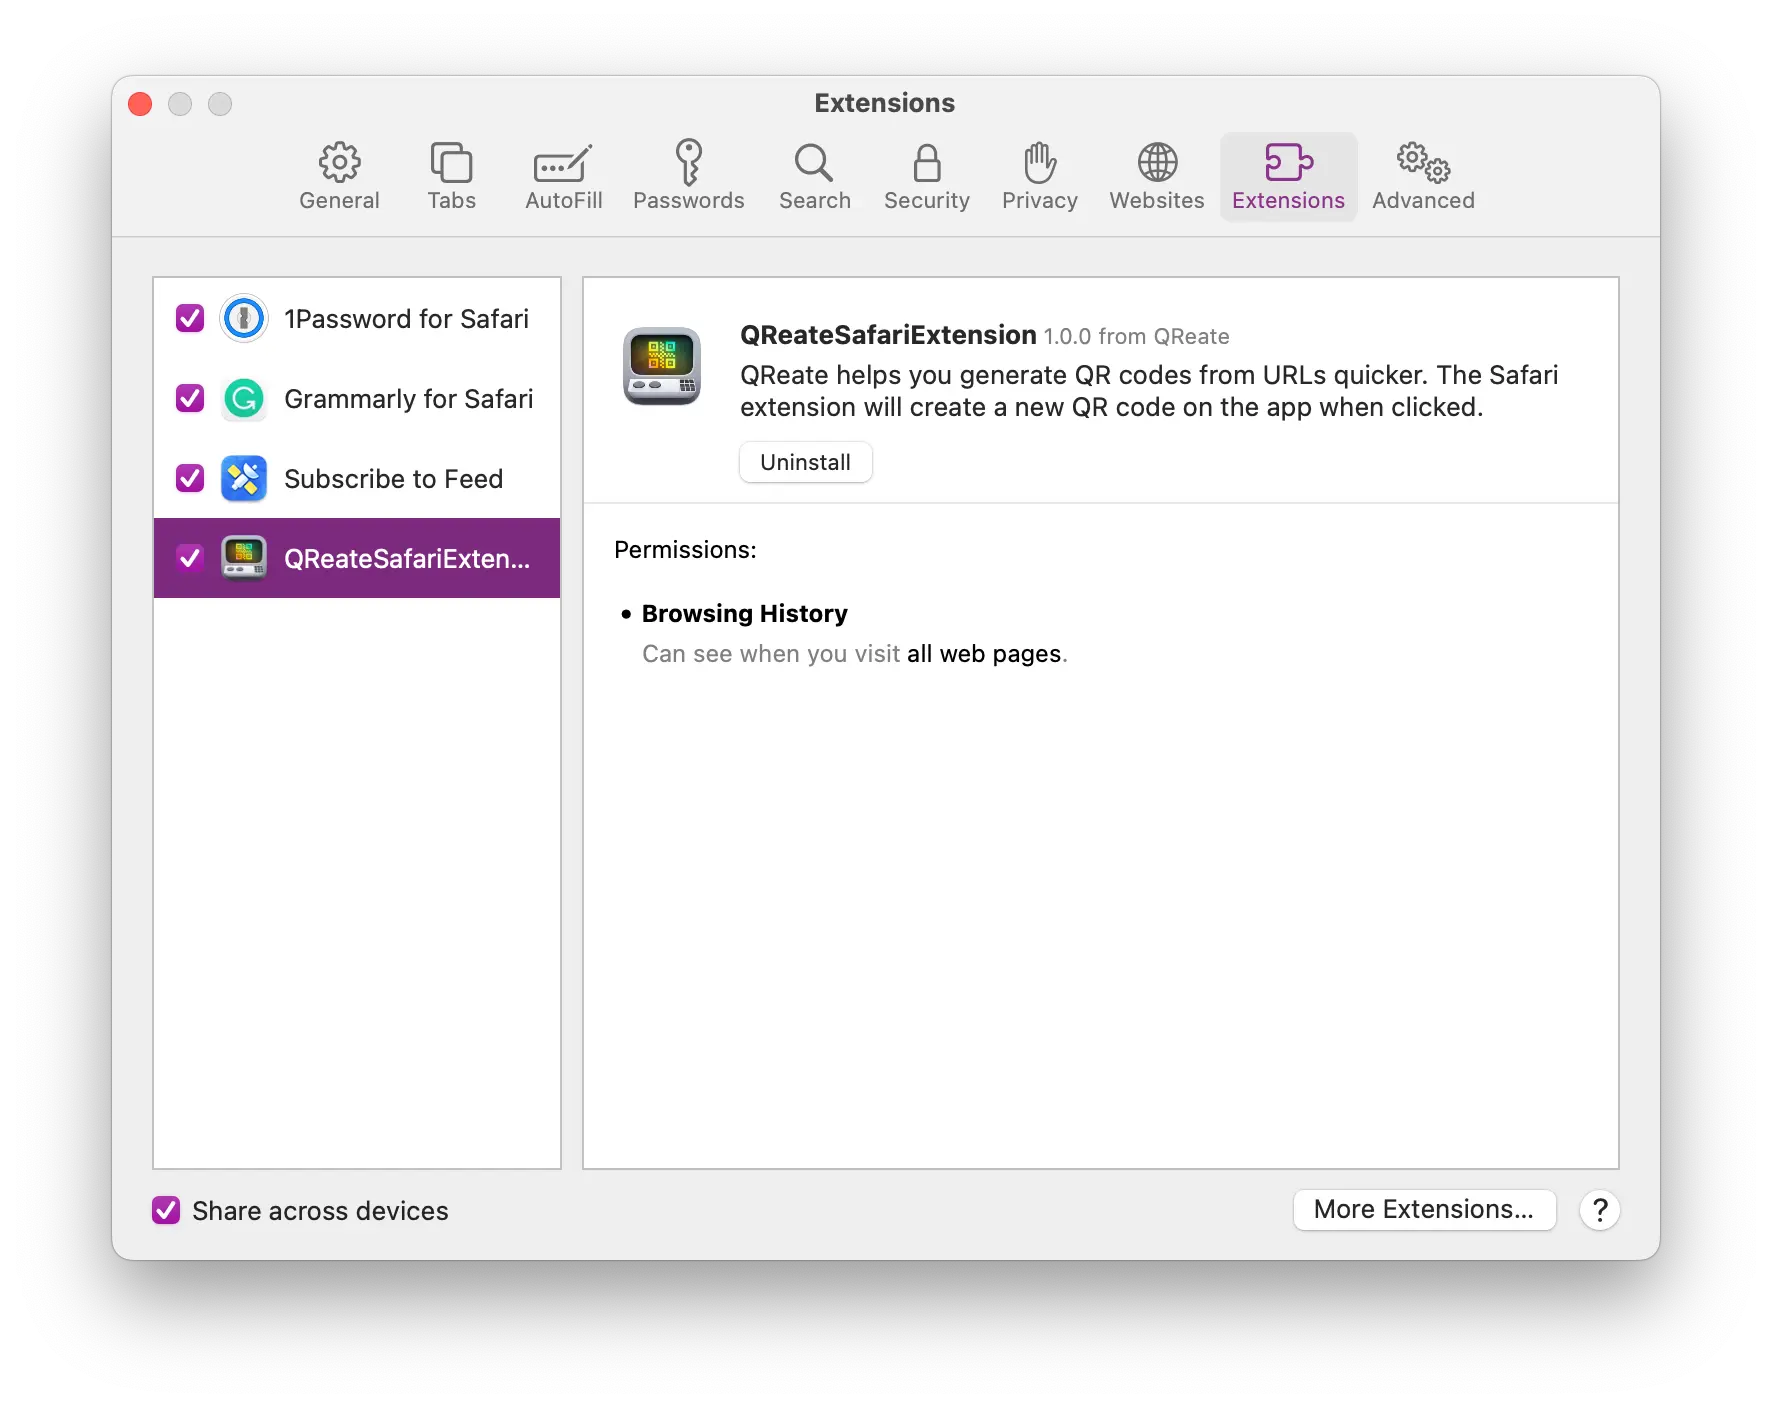
Once you do this, you can enable the extension in Safari’s preferences and start testing your code:
Launching the app
The Safari App Extension template we used earlier created a subclass of SFSafariExtensionHandler.
We can use this class to handle extension-related events. For example, we can get notified whenever the user clicks on the extension’s toolbar item by overriding the toolbarItemClicked(in:) method in the subclass:
import SafariServices

class SafariExtensionHandler: SFSafariExtensionHandler {
    override func toolbarItemClicked(in window: SFSafariWindow) {
        window.getActiveTab { (tab) in
            tab?.getActivePage(completionHandler: { (page) in
                page?.getPropertiesWithCompletionHandler( { (properties) in
                    if let url = properties?.url {
                        NSWorkspace.shared.open(URL(string: "qreate:new?content=\(url.absoluteString)")!)
                    }
                })
            })
        }
    }
}
In the method above, the extension retrieves the current tab from the Safari window, followed by the current page in the tab and finally the URL of said page.
Once the URL is retrieved, the extension launches the app by opening a URL with a custom scheme (which we’ll set up later on in the article) and feeding it the tab’s URL as a query parameter named content.
Turning extension off when no URL is available
The extension should only be enabled when the user is on a page with a valid URL.
We can disable the extension’s toolbar item by overriding the validateToolbarItem(in:validationHandler:) method in the SafariExtensionHandler class and only returning true when the current page has a valid URL:
import SafariServices

class SafariExtensionHandler: SFSafariExtensionHandler {
     override func validateToolbarItem(in window: SFSafariWindow, validationHandler: @escaping ((Bool, String) -> Void)) {
         window.getActiveTab { (tab) in
             tab?.getActivePage(completionHandler: { (page) in
                 page?.getPropertiesWithCompletionHandler( { (properties) in
                     validationHandler(properties?.url != nil, "")
                 })
             })
         }
     }
}
Handling the deep link in the app
Now that the extension can retrieve the current URL and open a deep link with a custom scheme (“qreate:”), we can make the app listen for deep links with that specific scheme and handle them in just two simple steps:
- Register the custom scheme as a URL type in the app’s target.
- Listen for deep links from a
View.
Registering a URL type
The first step to handling a deep link in the app is to add a URL type to the macOS app’s target in Xcode. We need to make sure that the URL scheme we define in the app’s target matches the one we’ve used in the extension.
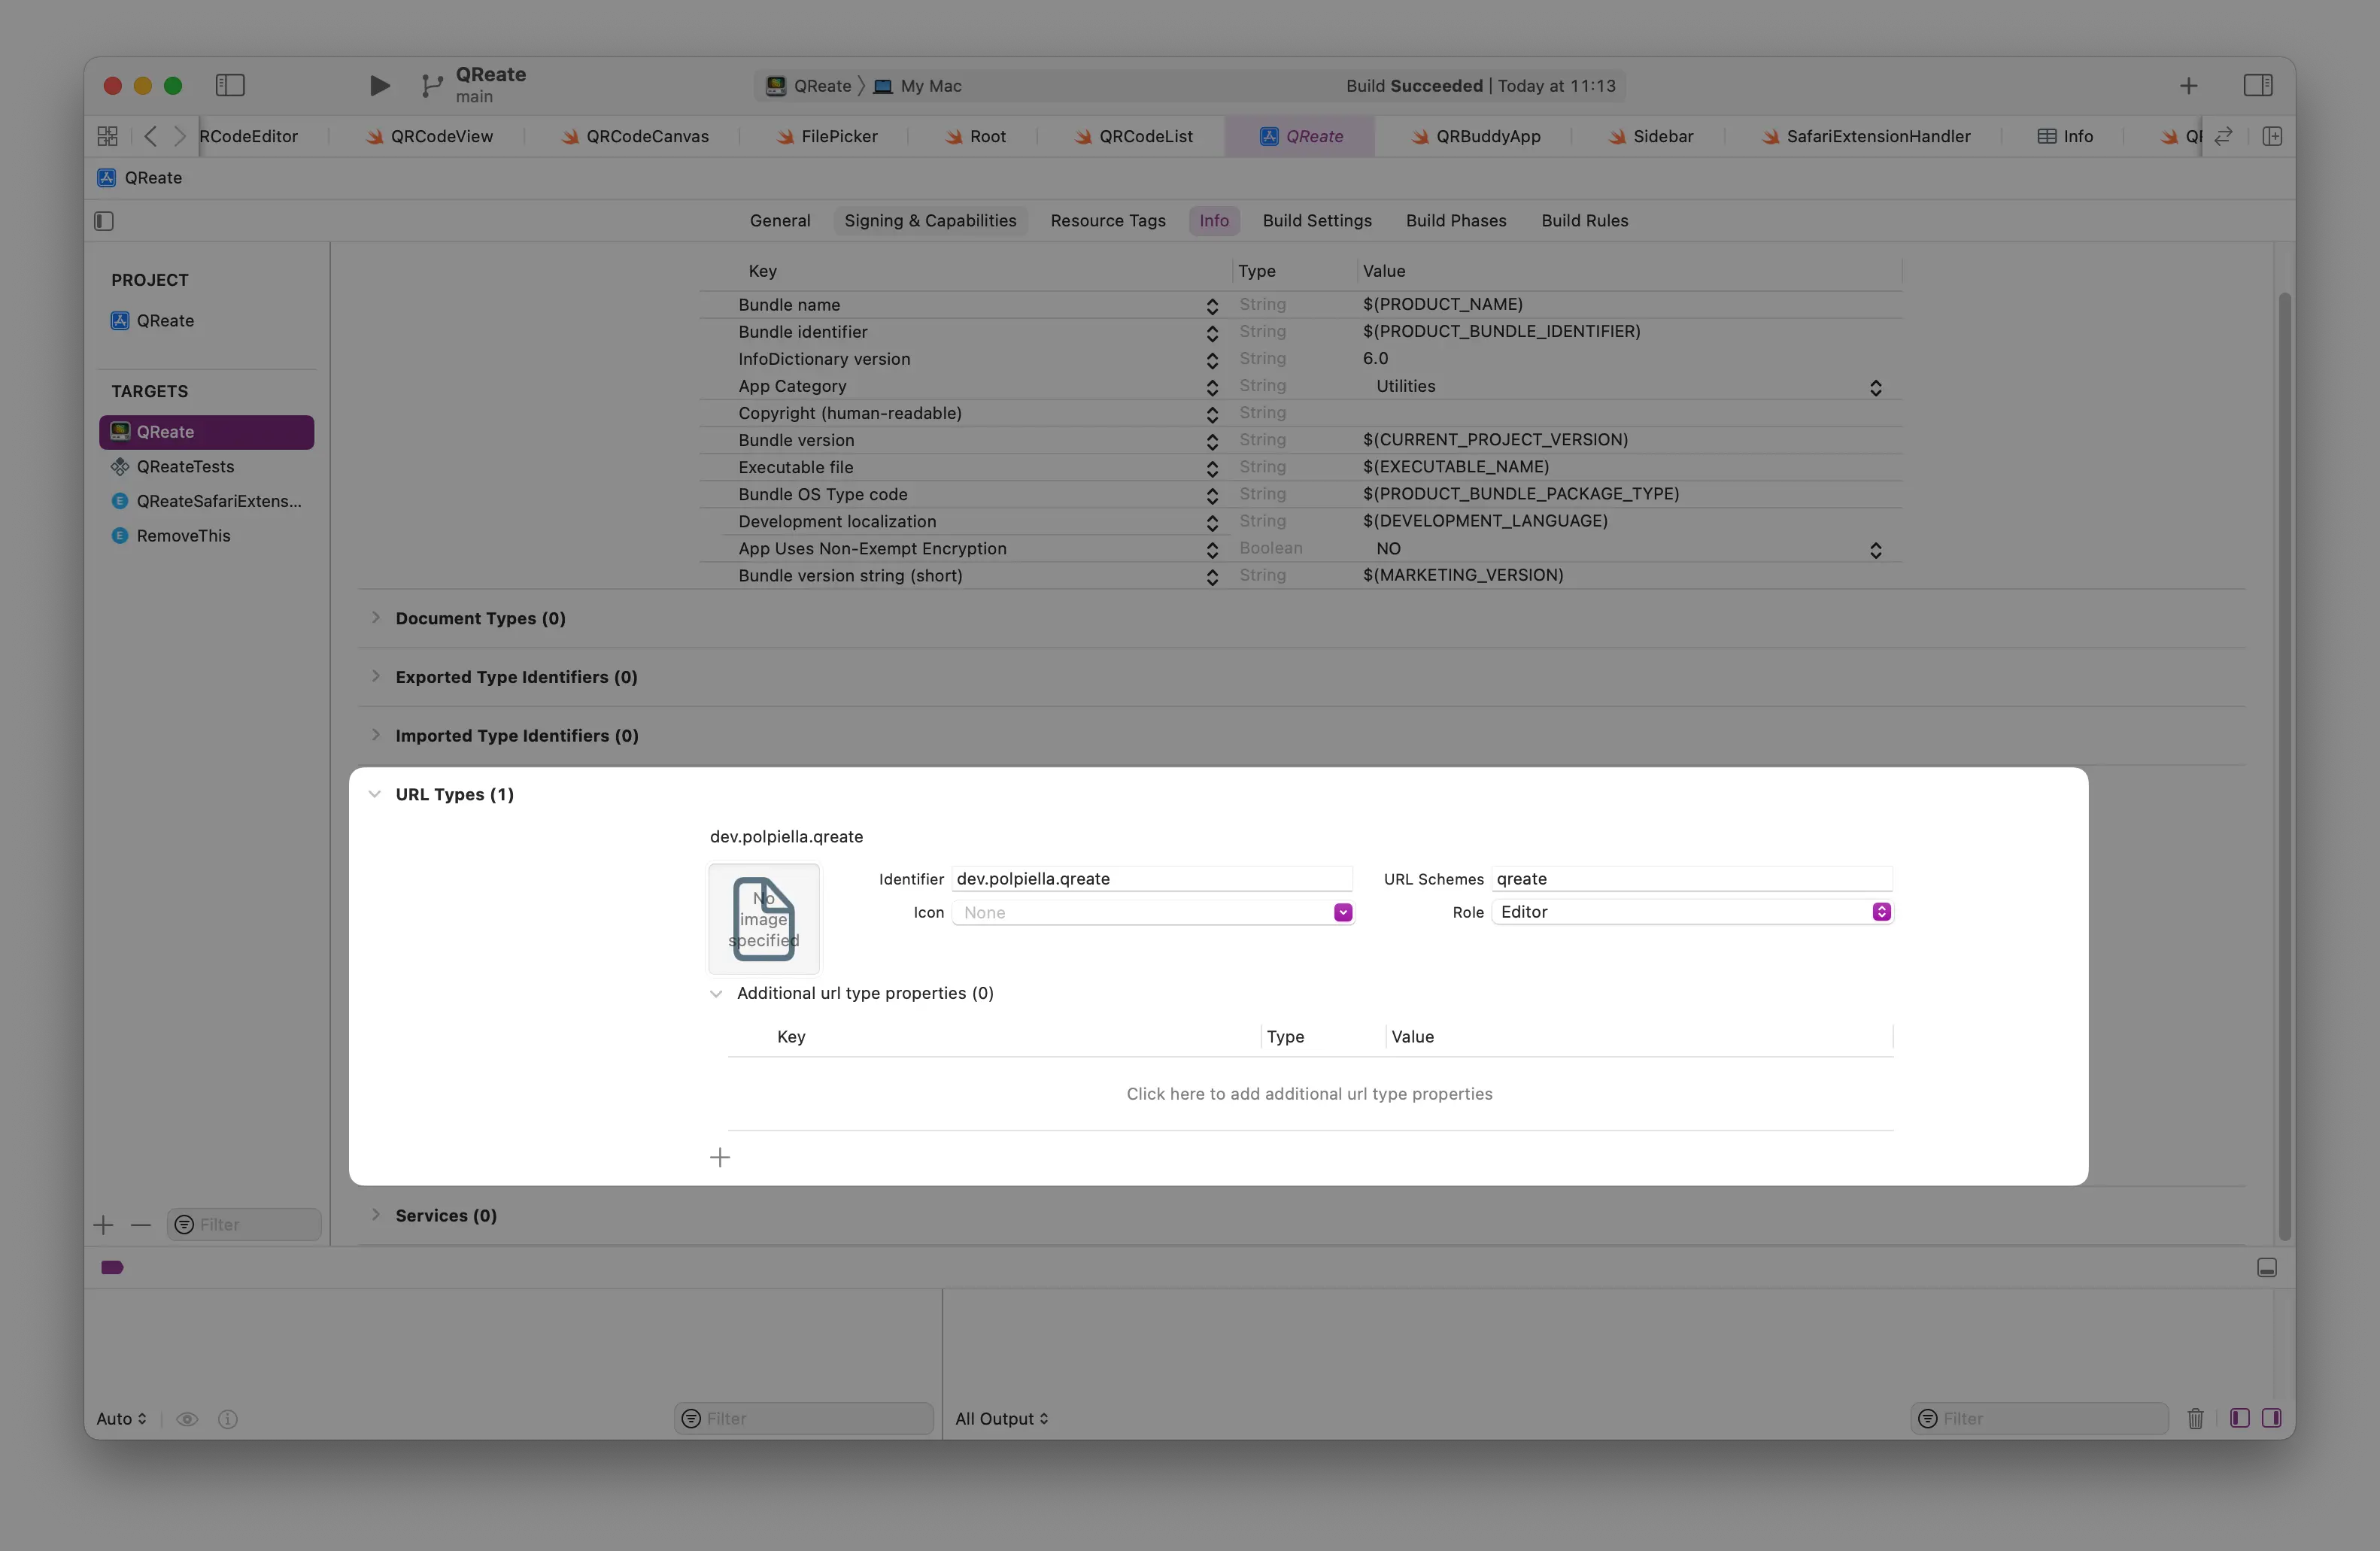
A new URL type can be registered by going to the target’s ‘Info’ tab in Xcode and adding a new entry in the ‘URL Types’ section:
Registering the URL type will cause the OS to open the app instead of a browser whenever a URL with the specified scheme is opened.
Listening for deep links
If you’re using SwiftUI’s app lifecycle, handling a deep link is as simple as adding a .onOpenURL modifier to the View that should handle said deep link:
List(viewModel.qrCodes, id: \.id, selection: Binding<UUID?>(get: { viewModel.selectedQRCode }, set: viewModel.listItemTapped(_:))) { qrCode in
    // ...
}
.onOpenURL { url in
    let components = URLComponents(url: url, resolvingAgainstBaseURL: false)
    if let content = components?.queryItems?.first(where: { $0.name == "content" })?.value,
        let url = URL(string: content) {
        viewModel.handleDeepLink(url)
    }
}
The onOpenURL view modifier above retrieves the URL components from the deep link, finds the content query parameter and then calls a method in the view model with the retrieved URL which ultimately creates a new QR code.