Launching a SwiftUI view from the terminal

Helm Pro yearly subscribers now get a 30% discount on RocketSim thanks to contingent pricing on the App Store.
While there is a lot you can display in the terminal, there is certain information that is better conveyed in a graphical user interface. Contrary to what you might think, you don’t need to create a full-blown macOS app to display a simple UI.
In this article, I will show you how you can launch a SwiftUI view directly from your Swift command-line tool without changing the application’s call site.
The command-line tool
Let’s create a small command-line tool that allows users to enter a hex value and then shows a view with the corresponding colour to help them visualize it:
Creating the project
First, create a new executable Swift Package:
mkdir color-visualizer && cd color-visualizer
swift package init --type executable --name ColorVisualizer
This will create a package manifest with a single executable target containing only one file called main.swift.
Passing the colour hex as an argument
As I mentioned earlier in the article, we want the user to be able to pass a hex value to the command-line tool that we can then use to display the colour in a SwiftUI view.
There are multiple ways you can read arguments from the command line, but my favourite one and the one we’ll be using in this article is ArgumentParser, an open-source Swift Package by Apple.
Adding ArgumentParser
To start using ArgumentParser, you first need to add it as a dependency to both the package and the executable target in the manifest:
// swift-tools-version: 5.9

import PackageDescription

let package = Package(
    name: "ColorVisualizer",
    products: [
        .executable(name: "ColorVisualizer", targets: ["ColorVisualizer"])
    ],
    dependencies: [
        .package(url: "https://github.com/apple/swift-argument-parser.git", exact: "1.2.3")
    ],
    targets: [
        .executableTarget(
            name: "ColorVisualizer",
            dependencies: [.product(name: "ArgumentParser", package: "swift-argument-parser")]
        ),
    ]
)
Reading the argument
Now that we have added ArgumentParser as a dependency, we can create our AsyncParsableCommand with an argument of type String called hex.
import ArgumentParser

@main
struct ColorVisualizer: AsyncParsableCommand {
    @Argument(help: "The hex value of the colour you want to visualize.")
    var hex: String

    func run() async throws {
        // Using a small `Color` extension from `@MarcoEidinger`
        // https://blog.eidinger.info/from-hex-to-color-and-back-in-swiftui
        guard let color = Color(hex: hex) else {
            print("😢 \(hex) is not a valid hex colour")
            return
        }

        print("🎨 Hex colour: \(color.toHex()!)")
    }
}
Note that if you use
ArgumentParser, you will need to add the@mainattribute to the command struct you want to use as the entry point for your executable. You need to know that, once you do this, you won’t be able to name any file in the executable targetmain.swiftor write any top-level code, otherwise, you will get a compiler error.
Launching a SwiftUI view
Now that we have the hex value in our application, we need to find a way of launching a SwiftUI view that displays it.
We will do this by using AppKit’s NSApplication class, creating a new instance of NSWindow and setting its contentViewController to an NSHostingView instance that wraps our SwiftUI view.
Creating a SwiftUI view
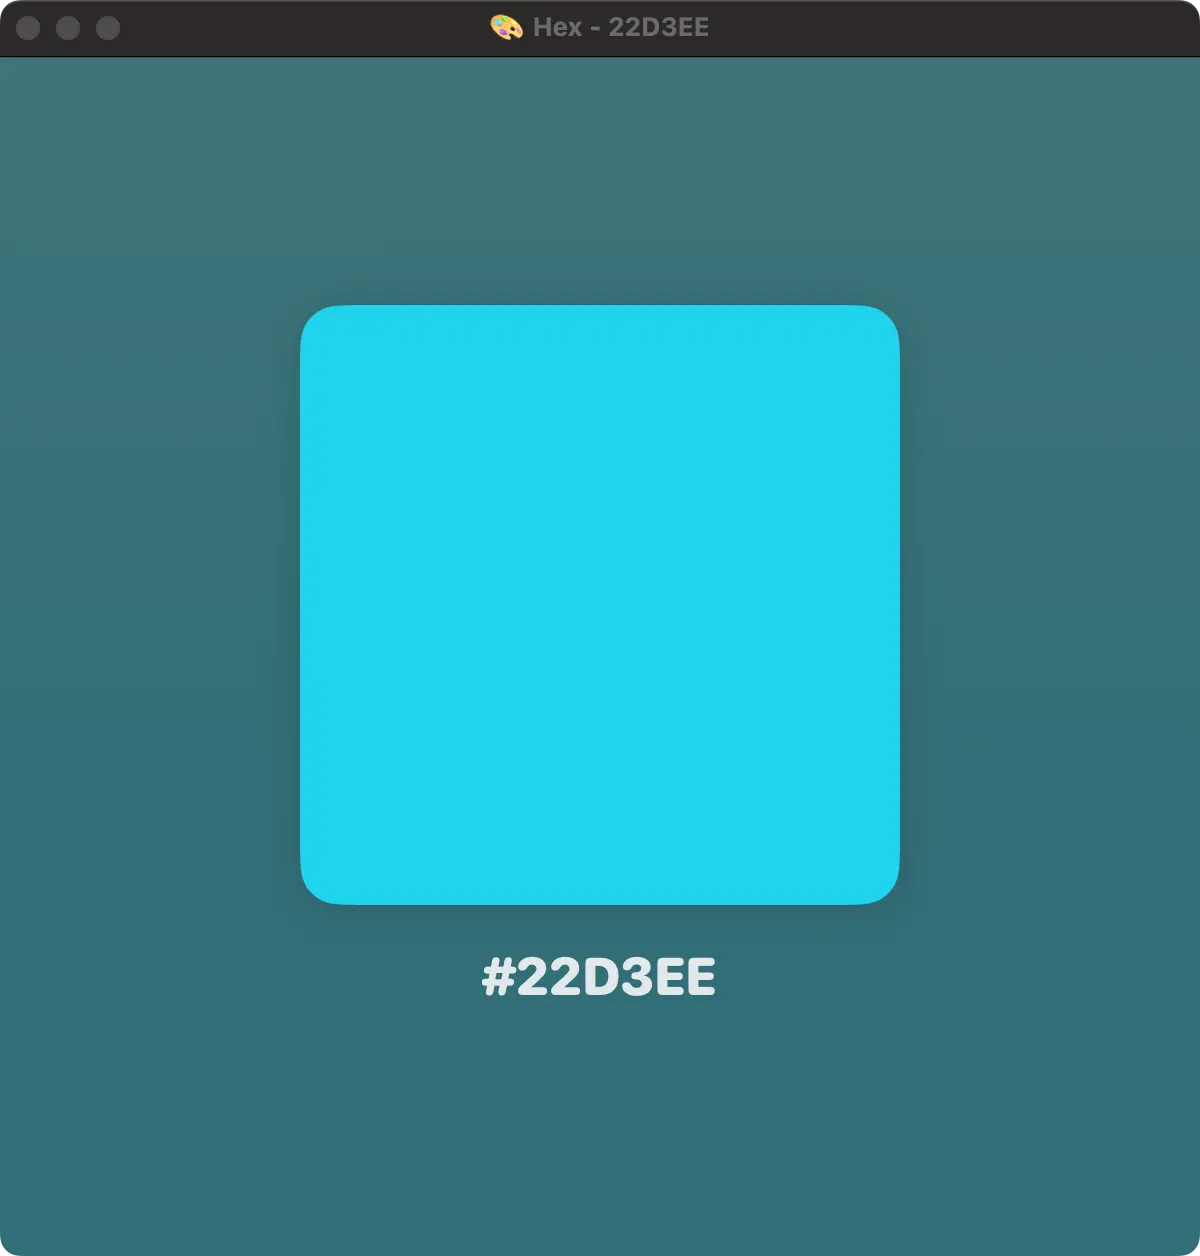
The SwiftUI view we will be using is fairly simple and consists of a rounded rectangle filled with the input colour and a label showing the hex value as a string:
import SwiftUI

struct ColorDisplay: View {
    let color: Color

    var body: some View {
        ZStack {
            Rectangle()
                .fill(color.opacity(0.4).gradient)
            VStack(spacing: 20) {
                RoundedRectangle(cornerRadius: 20)
                    .fill(color)
                    .frame(width: 300, height: 300)
                    .shadow(color: .black.opacity(0.15), radius: 10)

                if let hexString = color.toHex() {
                    Text("#\(hexString)")
                        .font(.largeTitle)
                        .fontWeight(.heavy)
                        .fontDesign(.rounded)
                }
            }

        }
        .frame(width: 600, height: 600)
    }
}
Creating an NSWindow
Now that we have a SwiftUI view, we can subclass NSApplicationDelegate and write some code that creates a new NSWindow instance and sets its contentView to an NSHostingView that wraps your SwiftUI view as soon as the app launches.
import AppKit
import SwiftUI

final class AppDelegate: NSObject, NSApplicationDelegate {
    var window: NSWindow!
    let color: Color

    init(color: Color) {
        self.color = color
    }

    func applicationDidFinishLaunching(_ notification: Notification) {
        let window = NSWindow(
            contentRect: .zero,
            styleMask: [.closable, .resizable, .titled],
            backing: .buffered,
            defer: false
        )
        window.contentViewController = NSHostingController(
            rootView: ColorDisplay(color: color)
        )
        window.makeKey()
        window.center()
        window.orderFrontRegardless()
        if let colorString = color.toHex() {
            window.title = "🎨 Hex - \(colorString)"
        }
        self.window = window
    }
}
Launching the NSApplication
Now that we have a delegate that will create a window for us, we need to activate and run an NSApplication and set its delegate accordingly:
import AppKit

@MainActor
class App {
    let color: Color
    let delegate: AppDelegate

    init(color: Color) {
        self.color = color
        self.delegate = AppDelegate(color: color)
    }

    func run() {
        let app = NSApplication.shared
        app.delegate = delegate
        app.setActivationPolicy(.regular)
        app.activate(ignoringOtherApps: true)
        app.run()
    }
}
Running the app
Let’s now put the pieces together and run the app from our AsyncParsableCommand:
import ArgumentParser

@main
struct ColorVisualizer: AsyncParsableCommand {
    @Argument(help: "The hex value of the colour you want to visualize.")
    var hex: String

    func run() async throws {
        guard let color = Color(hex: hex) else {
            print("😢 \(hex) is not a valid hex colour")
            return
        }

        await App(color: color).run()
    }
}
Result 🎨
That’s it! We have now created a command-line tool that launches a SwiftUI view with very little code.
When you run the app and pass it a hex code as an argument, you should see something like this: